| Category | GMC |
|---|---|
| Type | Doc |
| Last Modified | 30 October 2025 |
| Location | Guides, SOPs & Policies (GMC) > Internal Guides |
P.E.M. Tool Product Category Mapping & Implementation (Internal Guide) | OCT 2025
Pre-requisites
The following tasks need to have been completed before this:
MAPPING STEPS
- After having completed the Vendor Category Assignments within the P.E.M. Tool, you can now begin to assign a category to each of the products in the catalogue.
*NOTE: There is no one set way of doing this as each client has a different way of organising their product data within their Shopify backend. For that reason, you will need to use your discretion to determine how they have segmented or classified their products.
|
|---|
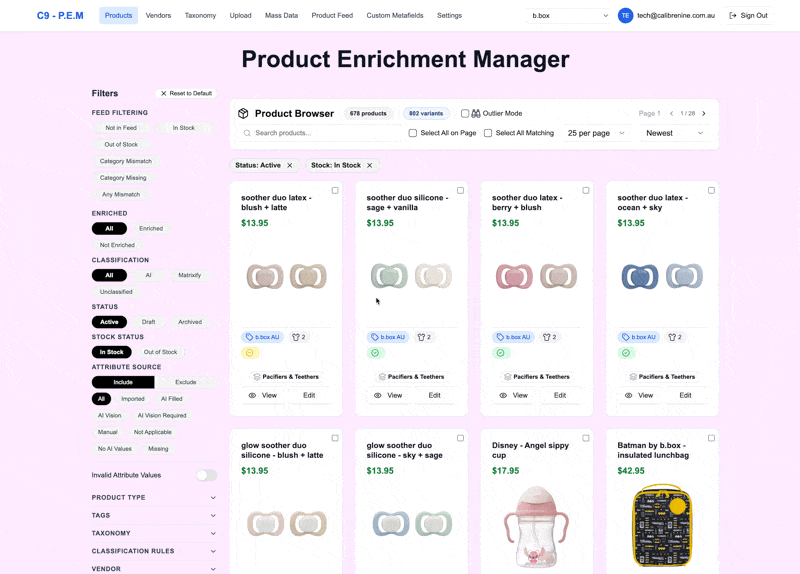
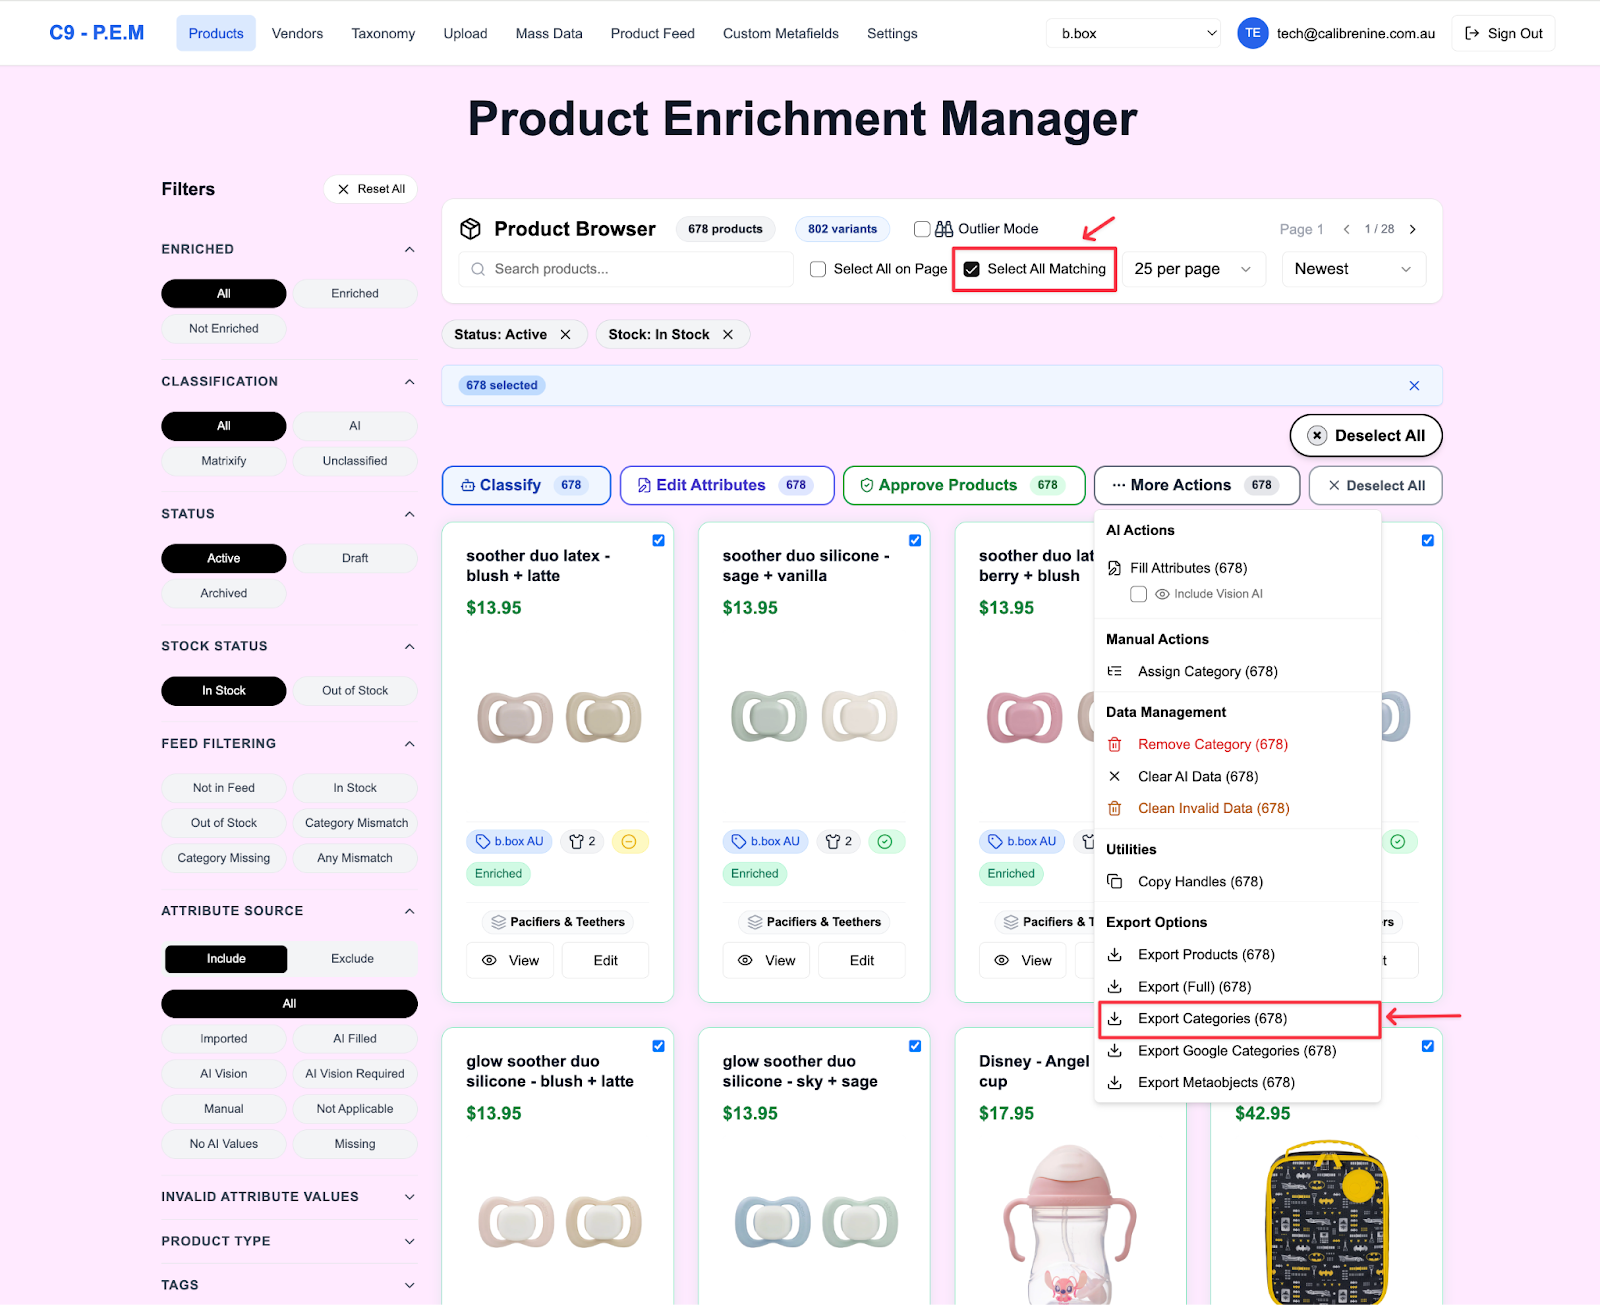
- Navigate to the P.E.M. Tool Dashboard and select the Products tab.
*TIP: Use the filter options on the left-hand side to browse through the different products. We often get context clues from
- Product Type
- Product Tags
- Vendors
And use those filters so we can begin to tackle the Category assignments in batches at a time.
- From one or more of those filters, select a filter option or more that you would like to do a bulk assignment of Categories on. You can technically do this for all products but if we are working on a large product catalogue, we want to prioritise products that are Active and In stock to save resources.
This should be able to give you a breakdown of all of the products that suit those filters. Tick Select All Matching to start doing bulk edits on all products selected.
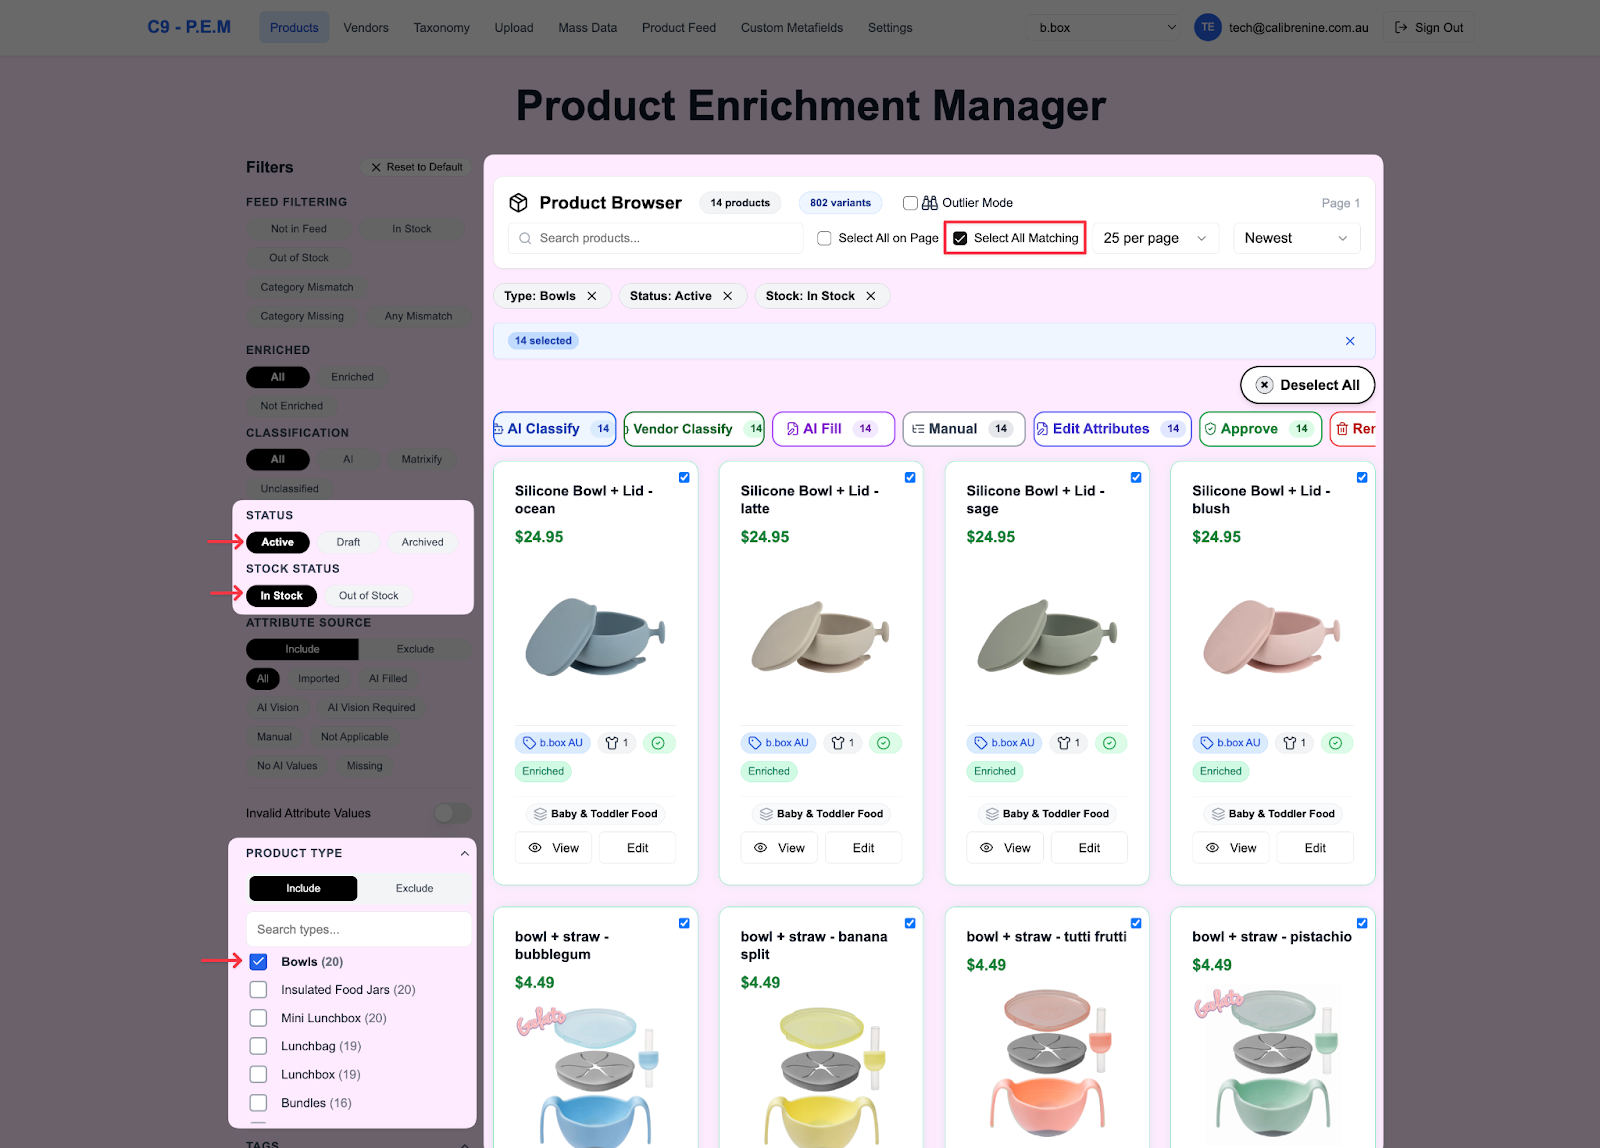
- You have three options to go about assigning categories to products.
OPTION 1 – Recommended
Scroll through the different action button options and select Vendor Classify. The tool will use the list of pre-selected accepted Categories only choose from there to find the best Category assignment for each of the products you have ticked.
If there were any that were unsuccessfully matched, we recommend assigning a category to these products manually.
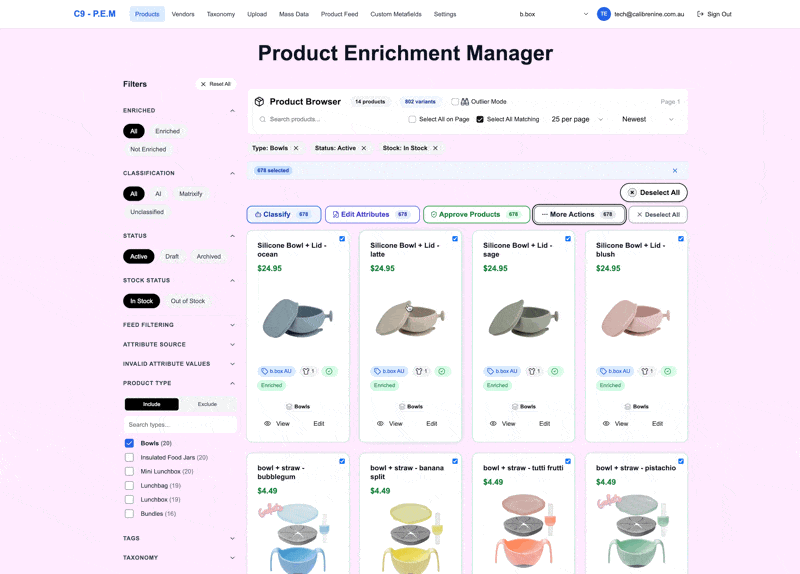
OPTION 2
Scroll through the different action button options and select AI Classify. The tool will use the current Category assignment of each product for context and the entire Shopify Taxonomy to find the best Category match for the product.
If there were any that were unsuccessfully matched, we recommend assigning a category to these products manually.
OPTION 3
Scroll through the different action button options and select Manual. Manually enter the Category you want to assign all of those products. Hit the Plus (+) symbol and click Assign to Products.

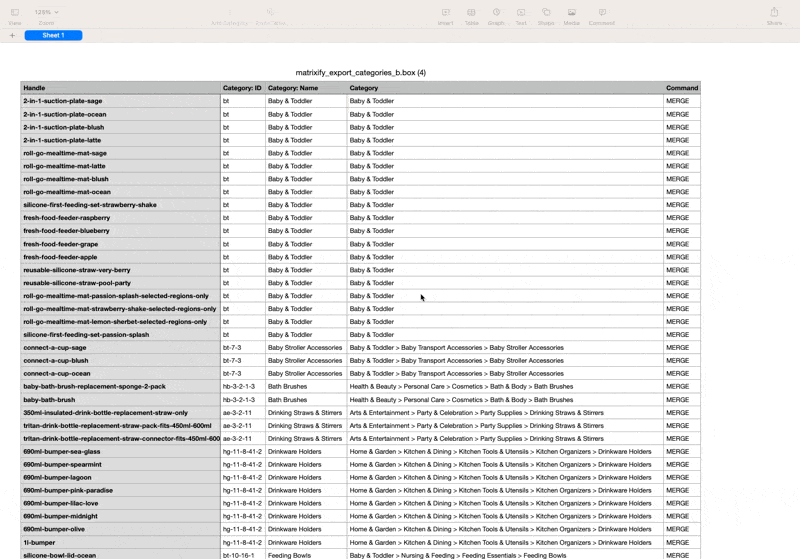
- Once you’ve finished matching and reviewing all the Categories assigned to all products, click Reset to Default on the left hand side filters. Hit Select All Matching. Scroll through the different action button options and select Export Categories.
This should give you a CSV Export that is ready to be uploaded to Matrixify. The output should look something like this:
IMPLEMENTATION STEPS
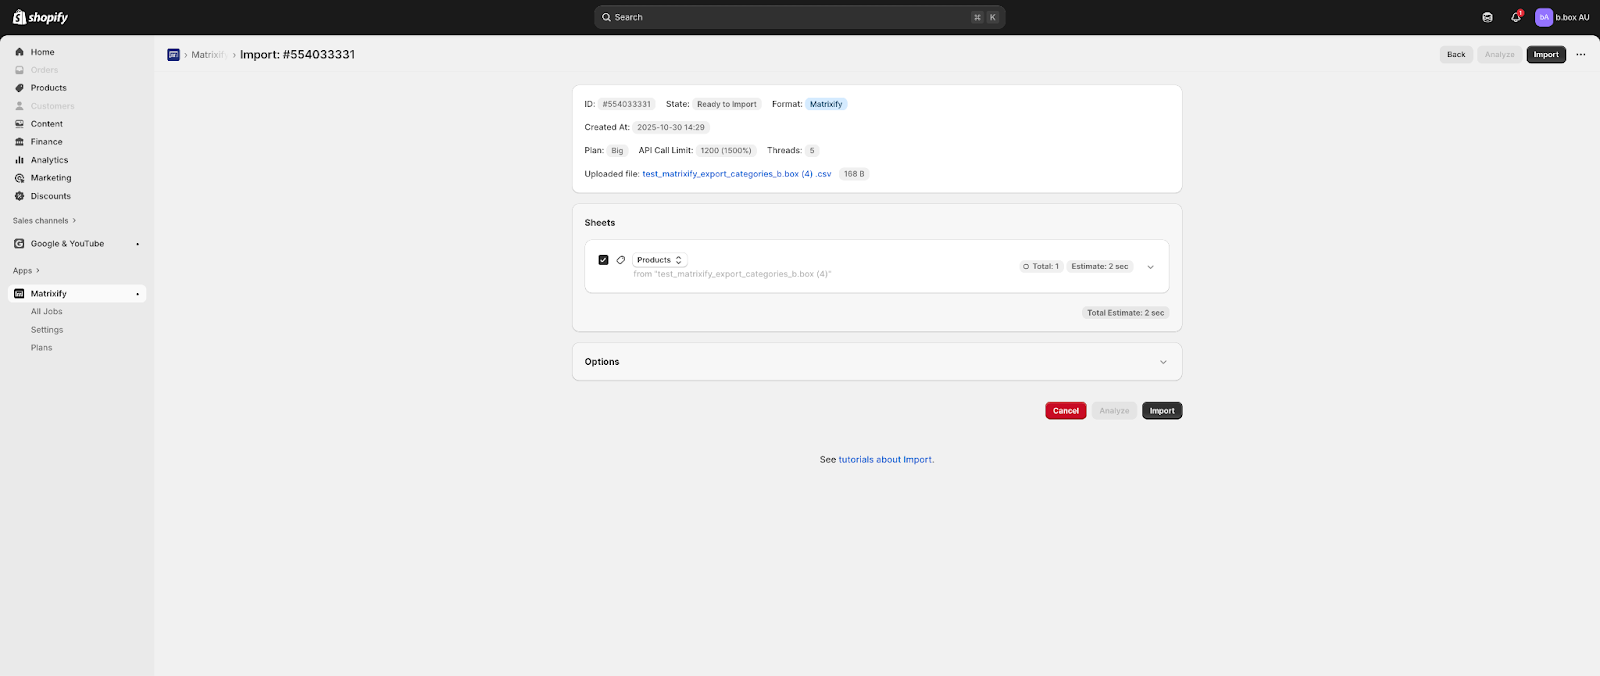
- To implement the new category assignments, navigate to Shopify and go to Matrixify. Select Add File and upload the CSV file of the exported Categories. Select Products in the Sheet selector, Analyze, then hit Import.
- You are all done! All the new Category assignments should now be visible when you go to Shopify > Products.